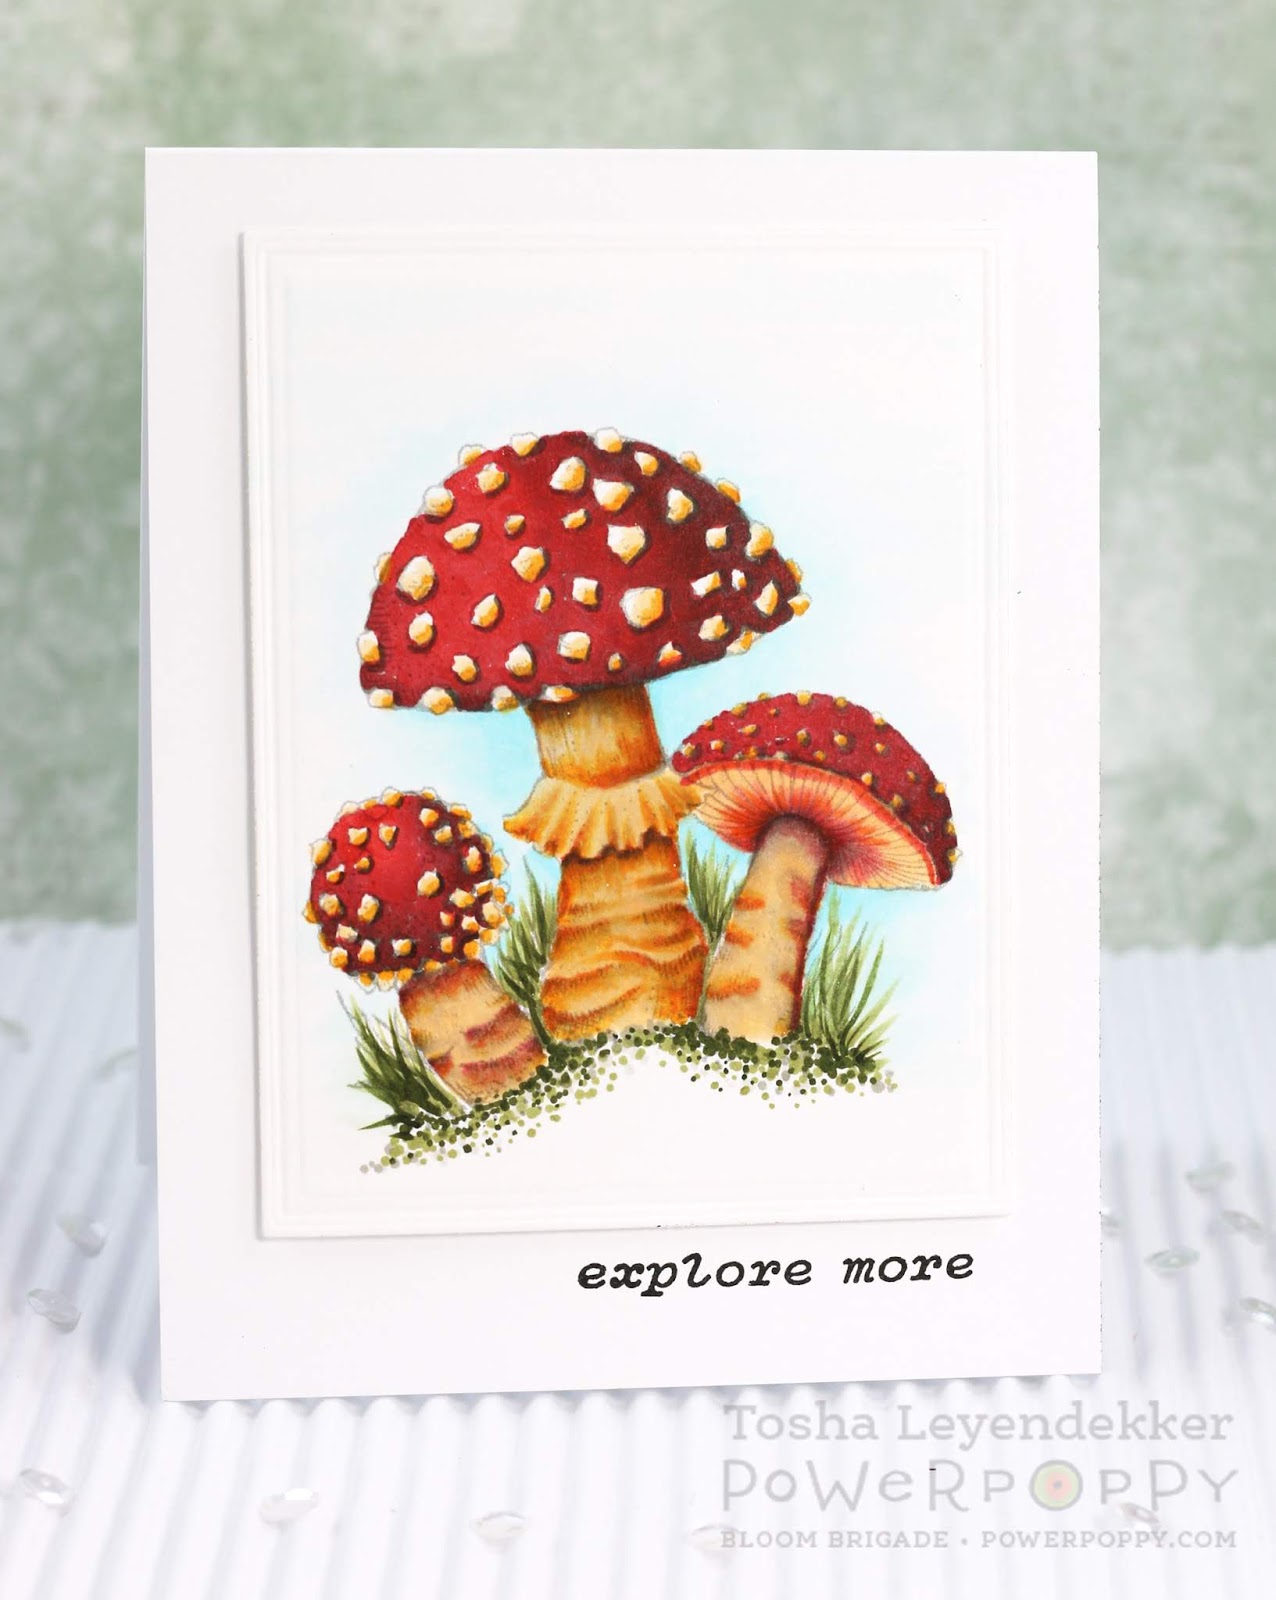
Wednesday, May 15, 2013

Kreat-a-Lope Product Review


I am so excited to share a fabulous product with you today.  A few weeks ago, Nick Romer emailed me asking if I would do a Product review on an envelope template, that he has patented, called the Kreate-a-Lope.  Now, I can count on one hand how many times I've made coordinating envelopes for my cards because I'm too impatient to measure and line things up.  So, I thought why not.  If this template would make things easier, how much fun would it be to make envelopes that matched my cards.  

Well, let me tell you this....I highly recommend the Kreate-a-Lope!!  I made 4 envelopes in no time at all, and they're perfect.  The Kreate-a-Lope is super fun, easy, and a new "go-to" tool of mine.  Click on the Kreate-a-Lope badge to the left, at the bottom of this post, or on my sidebar, to see a demonstration of how easy it is to use.  There are currently two sizes: A2 and A7, and I'll show you envelopes I made using each.


I made my envelopes really simple this time, but promise to share some more with stamping on them in the near future.  For this envelope I used Kraft- Core cardstock.  I embossed the top flap, and sanded the raised surface and the envelope edges.  I LOVE the look it gives and I think it goes beautifully with my card.

By the way, I made the card using the Waltzingmouse stamp set Compact Sentiments Part Two.  The flower was made with Pink Jute String (Really Reasonable Ribbon), that has a felted wool pom-pom cut in half for the center.  The vertical stripes are Washi Tape.


I made this envelope using the Vintage Shabby Paper Stack by Tim Holtz, and the label was created using the Decorative Labels Eight die by Spellbinders.  This envelope is an A7 size and measures 5" x 7 1/8".


Okay, I hand deliver a lot of my cards, and thought it would be fun to make a vellum envelope so you can get a hint of what's inside.  Again, I just embossed the top flap because I wanted to make sure the front of the card is showing through the front of the envelope.


For my last envelope, I created a masculine A2 size using the Waltzingmouse Stamps image Cabin Plaid Backgrounder.  The stamp image fit perfectly inside the envelope template window.  I just cut out a rectangle of cardstock (for the label space), laid it over the stamp and inked it all up.  I then removed the rectangle piece of cardstock and stamped the envelope using the window of the template as my guideline.  SO EASY!!  I then ink distressed the edges using some Black Soot (Ranger Distress Ink)


Here's a look at all 4 envelopes that I made "lickety-split".  
I highly recommend this template!!  I can assure you I will be using it often.
Click on the badge below for more information!!


Thanks so much for dropping by!
Happy creating!!

_____________________________________________________________

Stamps:  Compact Sentiments Part Two, Cabin Plaid Backgrounder (Waltzingmouse Stamps)
Paper:  Kraft-Core (Core'dinations), Vintage Shabby (Tim Holtz), Kraft (PTI), Vellum (SU!)
Ink:  Smokey Gray and Onyx Black (Versafine), Black Soot (Ranger Distress)
Accessories:  Kreate-a-Lope, Pink Jute String (Really Reasonable Ribbon), Rhinesone (Pizzazz Aplenty), Embossing Folders (Sizzix and Cuttlebug), Decorative Labels 8 die (Spellbinders)   

Thursday, May 9, 2013

For the Love of Patriotism and Service


Welcome to Our Daily Bread Design's Alumni feature of For the Love of Patriotism and Service!! This month the Alumni team will be sharing creations made with sets that focus on Love of Patriotism and Service!!

I chose to use two sets:  In God We Trust and God Bless America

I made my first card CAS (Clean And Simple) because I like the silhouette of the eagle head and I LOVE this Stars Embossing Folder by Cuttlebug.

I added some score lines, one single rhinestone, and a rounded corner, along with the wonderful sentiment in Onyx Black (Versafine)

Our Daily Bread Designs, In God We Trust, Patriotic


My second card has a few more details.  ;)
I stamped the flag image with Versamark onto Watercolor paper, embossed it with Black EP and watercolored it with my Tombow Markers.

Our Daily Bread Designs, God Bless America, Patriotic


I diecut a star inside a star, scored the points to make them 3-Dimensional, and distressed all the edges with Vintage Photo and Black Soot Ranger Distress Ink.


Here you can see the dimension a bit better.  I also added a few rhinestones for a bit of sparkle, and some Stardust Stickles to the stars on the Flag.


That's it for me today.  I hope I've inspired you to make some Patriotic cards, and support our country and those who sacrifice so much for it.

Be sure to check out the ODBD Blog for some more patriotic inspiration!

And here's a link list of all the Alumni participating:


Happy Stamping my friends!!

Tuesday, May 7, 2013

Sea Mist Charm Bracelet


Sorry I've been MIA for so long.  I've been working on different projects that I'm looking forward to sharing with you.  I made this bracelet a few days ago using a Sea Mist Charm bracelet kit from a store in Los Angeles called French General.

Back in November 2012 I had the pleasure of attending a Spellbound Event, in Pasadena, CA, hosted by Debbie Murray and Shea Fragoso.  For more info on them and this fabulous creative event, click HERE.

While attending this event, I was able to take a variety of classes and learn how to make jewelry using Ice Resin, soldering, and more.  One of my favorite classes was taught by Kristen Robinson.  She taught us how to work with Ice Resin, how to make jump rings, and how to attach beads with wire.  I finally have had some time to experiment with bracelets and necklaces, and this bracelet is my very first attempt.  I had a super fun time making it and look forward to making more, and maybe inspire ya'll to try it too.

Happy Creating!!

Monday, April 29, 2013

Pom-pom Flower tutorial


Hello my crafty friends!  Sadly, today is my last guest blogging post for Really Reasonable Ribbon.  I have had so much fun working with their fantastic ribbons, laces and trims, and have been so inspired by their varieties!  Today I made a flower much like the last ones I shared, except the center is quite different.  I just took their Mini pom-poms, and rolled them up and woila!  
I love how they look in the center of a flower!!
The sentiment and frame are from the newly released Waltzingmouse Stamps set My Kind of Guy.  All the sentiments are individual making it easy to stamp with different colors and arrange how you want them!


For the gathered flower, I used White Netting and Wired Faux Burlap White.
I also added some Ric Rac Trim, and a wee bit of Claudia White Crochet Lace, that's mostly covered by the image panel, to the background.


 Here's how I made the flower center.
The Pom-Poms have a perfect edge for gluing, and depending on how you roll it, it can be flat, or have a lot of depth.


Here I added some Diamond Stickles to give it a bit of sparkle.  I think it even stands alone quite well.


Here's a card I made with the Pom-Pom Flower as the focus, using a quote from Our Daily Bread Designs' Stamp set Quote Collection three.  I also wrapped the card with some True Black Hemp from the Earthy Collection. The background is just a collage of Washi Tape.

That's it for me today, and this month.  
I'd like to thank Bonnie for inviting me to Guest Design for RRR this month.  Bonnie's a gem to work with and this has truly been a pleasure.    I felt very welcome over there!!  
Head on over to the Really Reasonable Ribbon Ramblings for some more fabulous ribbon inspiration!!

Happy Crafting ya'll!!
_________________________________________________________________________

So Very Kind
Stamps:  My Kind of Guy (Waltzingmouse Stamps)
Paper:   Cool Summer (Carta Bella), White (PTI)
Ink:  Sea Breeze, Persimmon and Tea Leaves (VersaMagic), Onyx Black and Smokey Gray (Versafine)
Accessories:  Mini White pom-poms, White Netting, Wired Faux Burlap White,  Ric Rac Trim,
Claudia White Crochet Lace,
(Really Reasonable Ribbon), Paper Border Punch (EK Success)

Faith
Stamps:  Quote Collection 3 (Our Daily Bread Designs)
Paper:  White (PTI)
Ink:  Onyx Black (Versafine), Antique Linen (Ranger Distress)
Accessories:  Mini Pom Poms White, Hemp (RRR), Washi Tape, Button (PTI), Velvet Leaves (Prima), Diamond Stickles

Saturday, April 20, 2013

Grosgrain Fringe Tutorial


I'm excited to share my Grosgrain Fringe Tutorial with you today.  I guest Blogging over at the  Really Reasonable Ribbon's Ramblings BlogAnd I have card to share with you over there to.  So if you haven't been there yet, be sure to check it out.

Now for the Fringe Tutorial.   All you need is 2' of Grosgrain ribbon any width.  I used 5/8" White and Black Grosgrain, but you could use any color or width, depending on how long you want your fringe.  Even if you use the 1 1/2", you could always cut the fringe to the length you want.  And if you only have white, you could color it with Distress Inks or any Mister.  Grosgrain ribbon takes color really well.  You could even color it with Copics.
 

 Grosgrain ribbon is sealed on both edges.  So to start, you have to trim off one of the edges.  It doesn't have to be perfect because you won't even notice the varying lengths of the fringe once you finish it.  Just try to stay as uniform as you can.


Then, while holding the ribbon taut between two fingers (very important otherwise the ribbon will gather making it harder to remove the strands.), using your fingernail, try to separate 6-8 strands from the bottom of the ribbon and pull out and up.  It's important to pull away from the strip as you pull up to make it come apart easier.  I do this until there's about 1/8" left of the weaved part of the ribbon.  It's up to you how much of a base you want to work with.


Here's what the fringe looks like.  I wanted you to see that you don't notice a difference in lengths of fringe, even though my cuts weren't perfect.


Then I just use a heat gun and roll it up on itself.

Now, to make a flower using this fringe, you'll need 2' of 1 1/2 " wired ribbon and a 1 3/4" felt Circle.


For the flower base (this is Wired Faux Burlap Antique Gold...I used Natural Burlap with Wired Edge Silver/White for my actual flower), I pulled the two edge wires out from one side of the ribbon and tied them together.  I then pulled the two wires from the other side and gathered the ribbon, tying those ends off too when I had the gathers where I wanted them.


I then glued the two wired edges together every inch or two and hot glued them to the 1 3/4" felt circle.


Then just add some hot glue to the center and place your fringed piece in the center smooshing it down really good.  Don't worry about being gentle.  You want it to move out a bit, so scrunch it good.


You can spread out the fringe a bit and add an embellishment to the center, or leave it as is.  It's up to you which you prefer.  For this flower I used the fabulously fun 1 1/2" Black Houndstooth Ribbon.

That's it for my tutorial.  Now head on over to the Really Reasonable Ribbon's Ramblings Blog to see the card I made using this fringe.  This stuff is way too fun, and oh so easy!!

 Thank you so much for stopping by!
Happy Creating!!


___________________________________________________________________
 
Site Design By Designer Blogs